An extinguished pilot light is a common enough occurrence, so if you’re suddenly dealing with your furnace blowing cool air, it’s likely the issue. This can be very frustrating, but don’t worry! As heating and cooling professionals, this is something we see often in our industry. More often than not, drafts are the leading cause of why pilot lights go out. There are several potential causes for a pilot light going out, but regardless of the reason, you’re now left with no heat. The good news is that our experts at Grove City Heating & Air can help get your heat back up and running in no time! So, continue reading for a step-by-step instructional guide on how to relight your pilot light.
How Do I Relight My Furnace’s Pilot Light?
The process of relighting a pilot light is not as complicated as it might seem. By following these steps, you’ll see just how easy it can be.
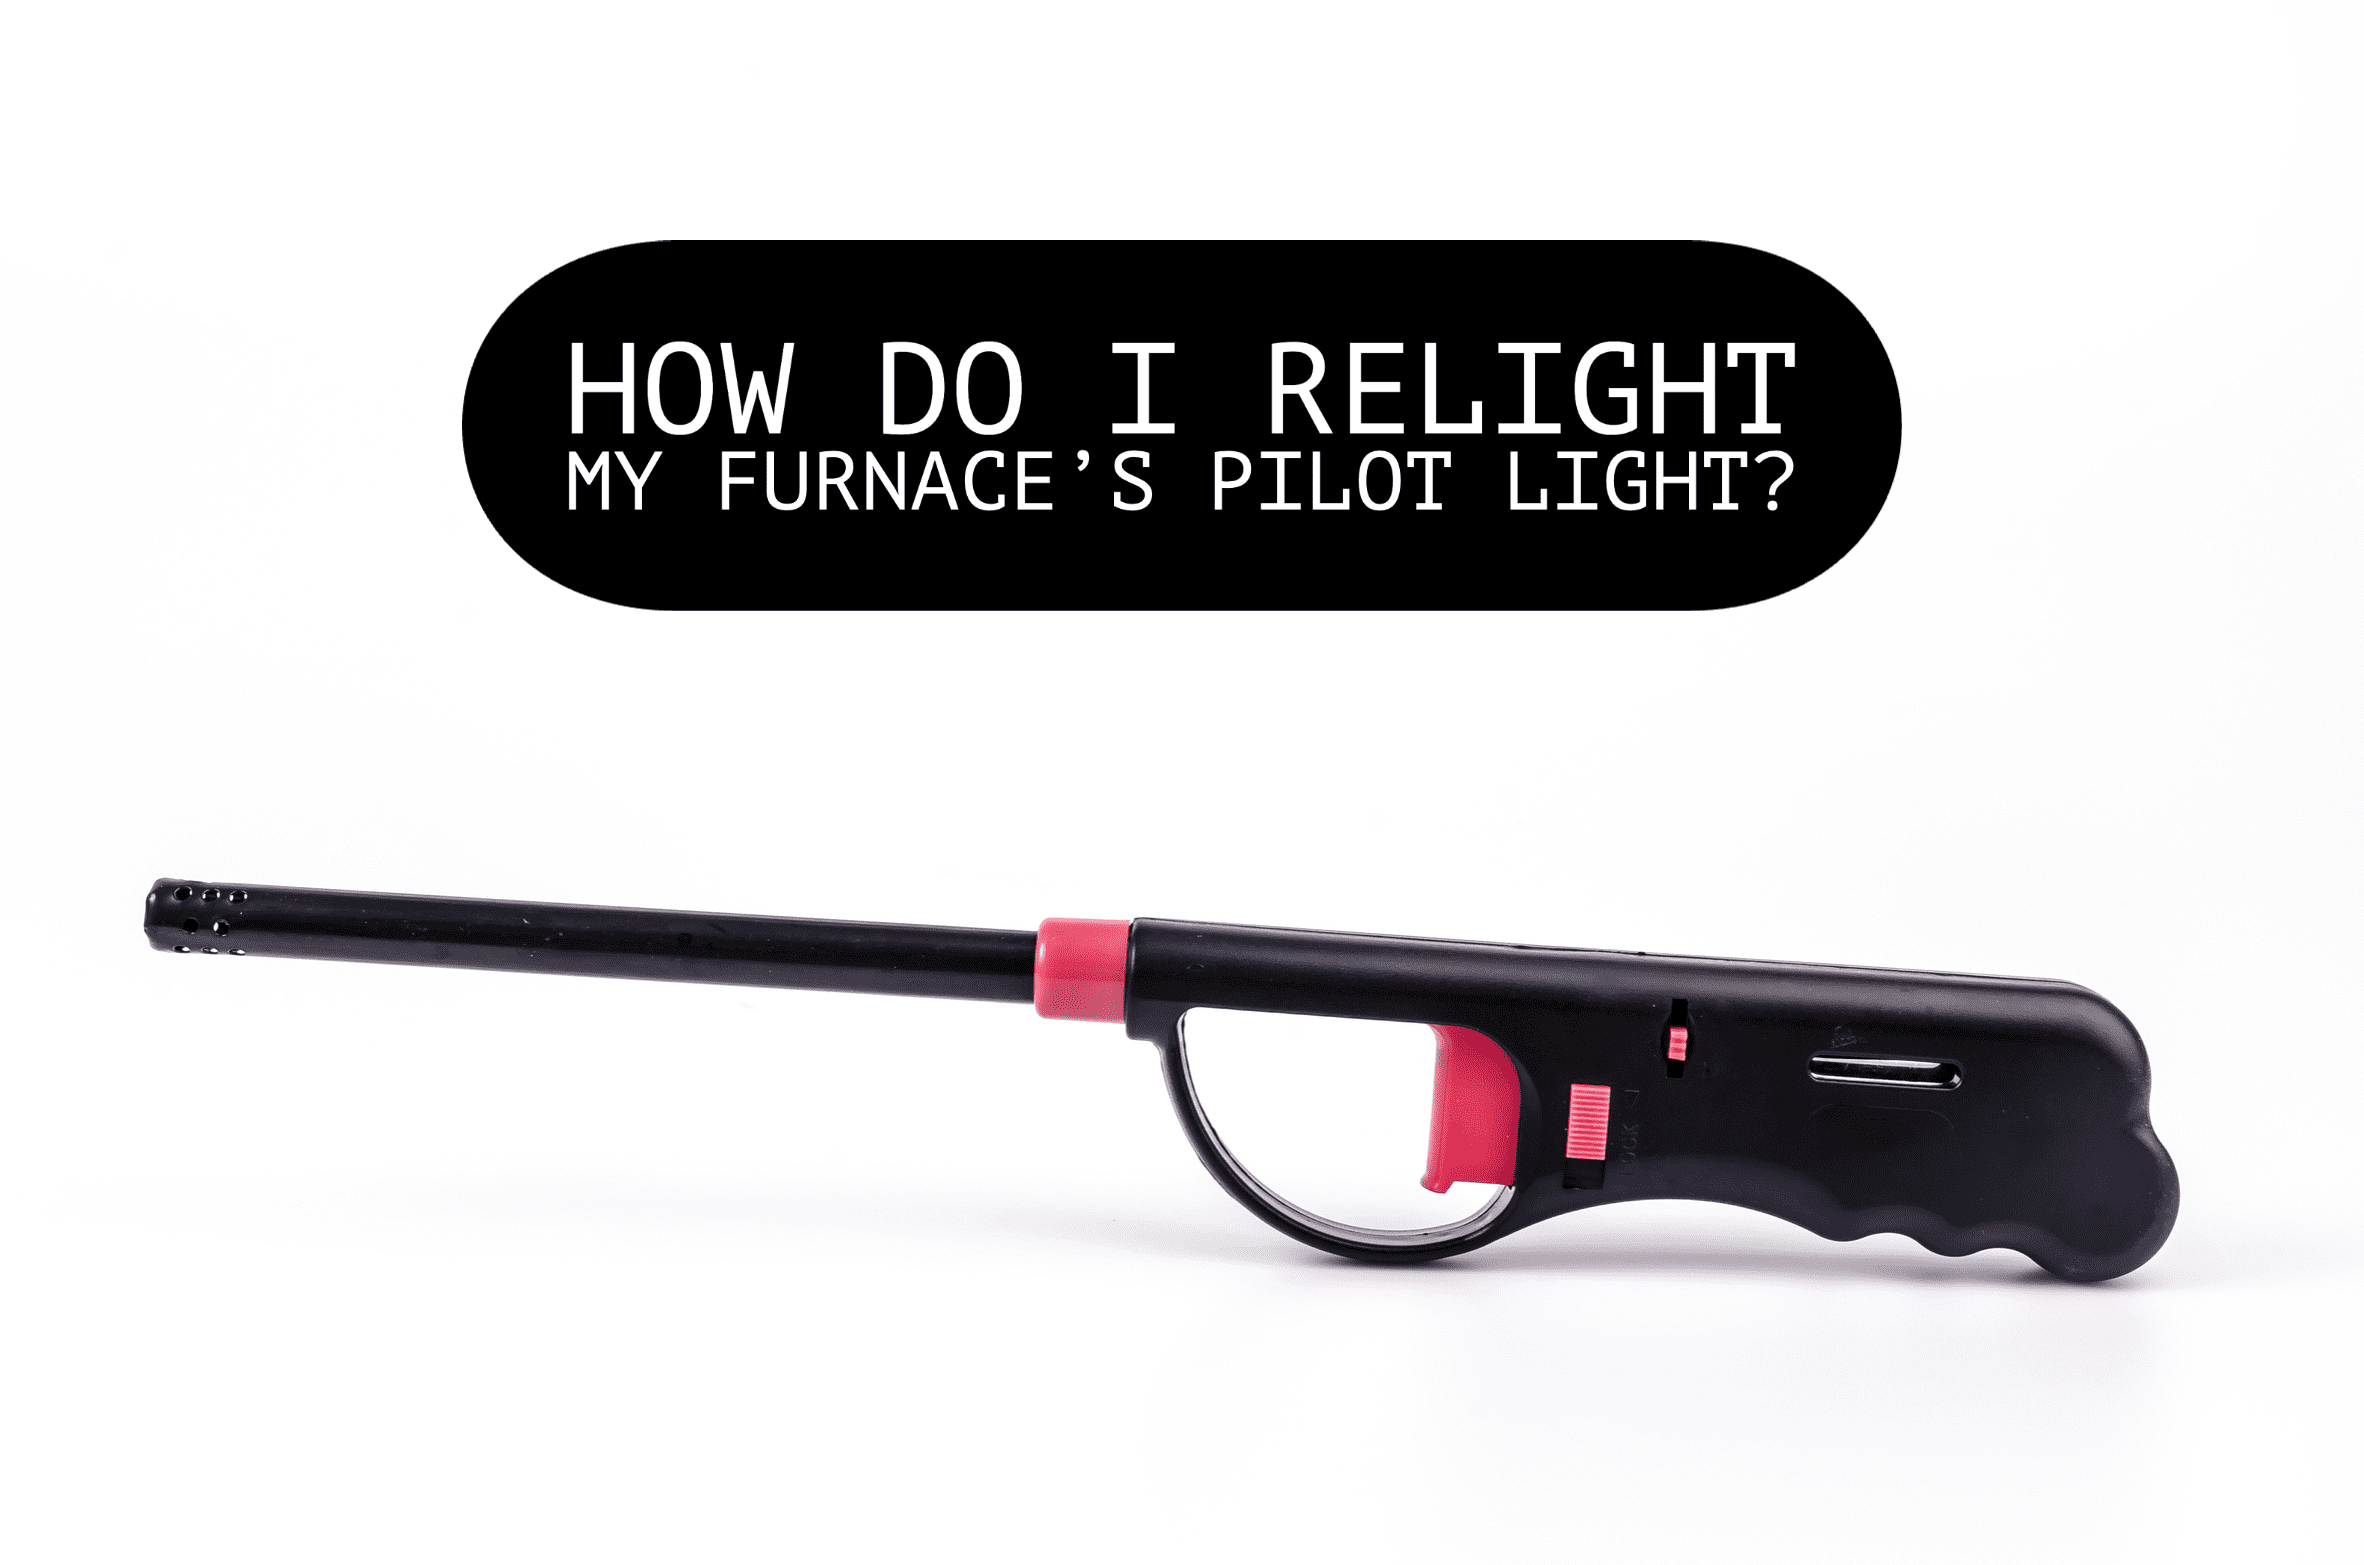
Part 1: Following the manufacturer’s instructions is always the best first option when available. These can be located on the side of your heating unit. Keep in mind that these are specific to your furnace model. If, however, your furnace is situated in a tight and dark space where reading them may not be possible, refer to the general steps provided below. Furthermore, before starting the whole relighting process, take note that you will need a long-reaching lighter or matchstick that will reach the pilot light area.
Part 2:
- If your furnace has a burner cover, it will need to be taken off. This is the metal faceplate that covers and protects the opening of your pilot light.
- Next, turn off the gas valve for your furnace. This is vital for safety reasons.
- You also want to power down the furnace entirely. The power switch is usually located at the bottom of most furnaces.
- Now, please wait five minutes before proceeding to the next steps. This is crucial for the safety of your home and family; the gas that was previously built-up needs time to dissipate. During this waiting period, you should look around for the pilot light assembly. It will be a knob-like switch that has “pilot, reset, or on/off” labeled on it. The exact wording may vary according to different furnace models.
Part 3: Once five minutes have passed by, the next step is to turn the knob to “pilot.” Then press and hold the “reset” button as you bring your ignited lighter close to the pilot light’s opening. When you’re close enough, the pilot light will spark and ignite. Once it does, let go of the “reset” button. Fingers crossed that the pilot light stays lit—if not, there might be a problem with a component. In conclusion, if your pilot light is still lit after performing the above steps, congratulations! You have successfully learned how to relight your pilot light! If that doesn’t deserve a round of applause, then we don’t know what does. Knowing how to relight your pilot light is a valuable skill for any homeowner.
Part 4:
- Don’t forget to turn the gas supply back on!
- If you had to remove a burner cover in order to access the pilot light, be sure to return it back to its original spot.
Give Grove City Heating & Air a call if the pilot light keeps going out when you release the switch. We have NATE-certified technicians who will come to your house as soon as possible to assess the problem and get your heat up and running again in no time. Call us today at (614) 490-7540, or schedule an appointment online now by clicking here!


